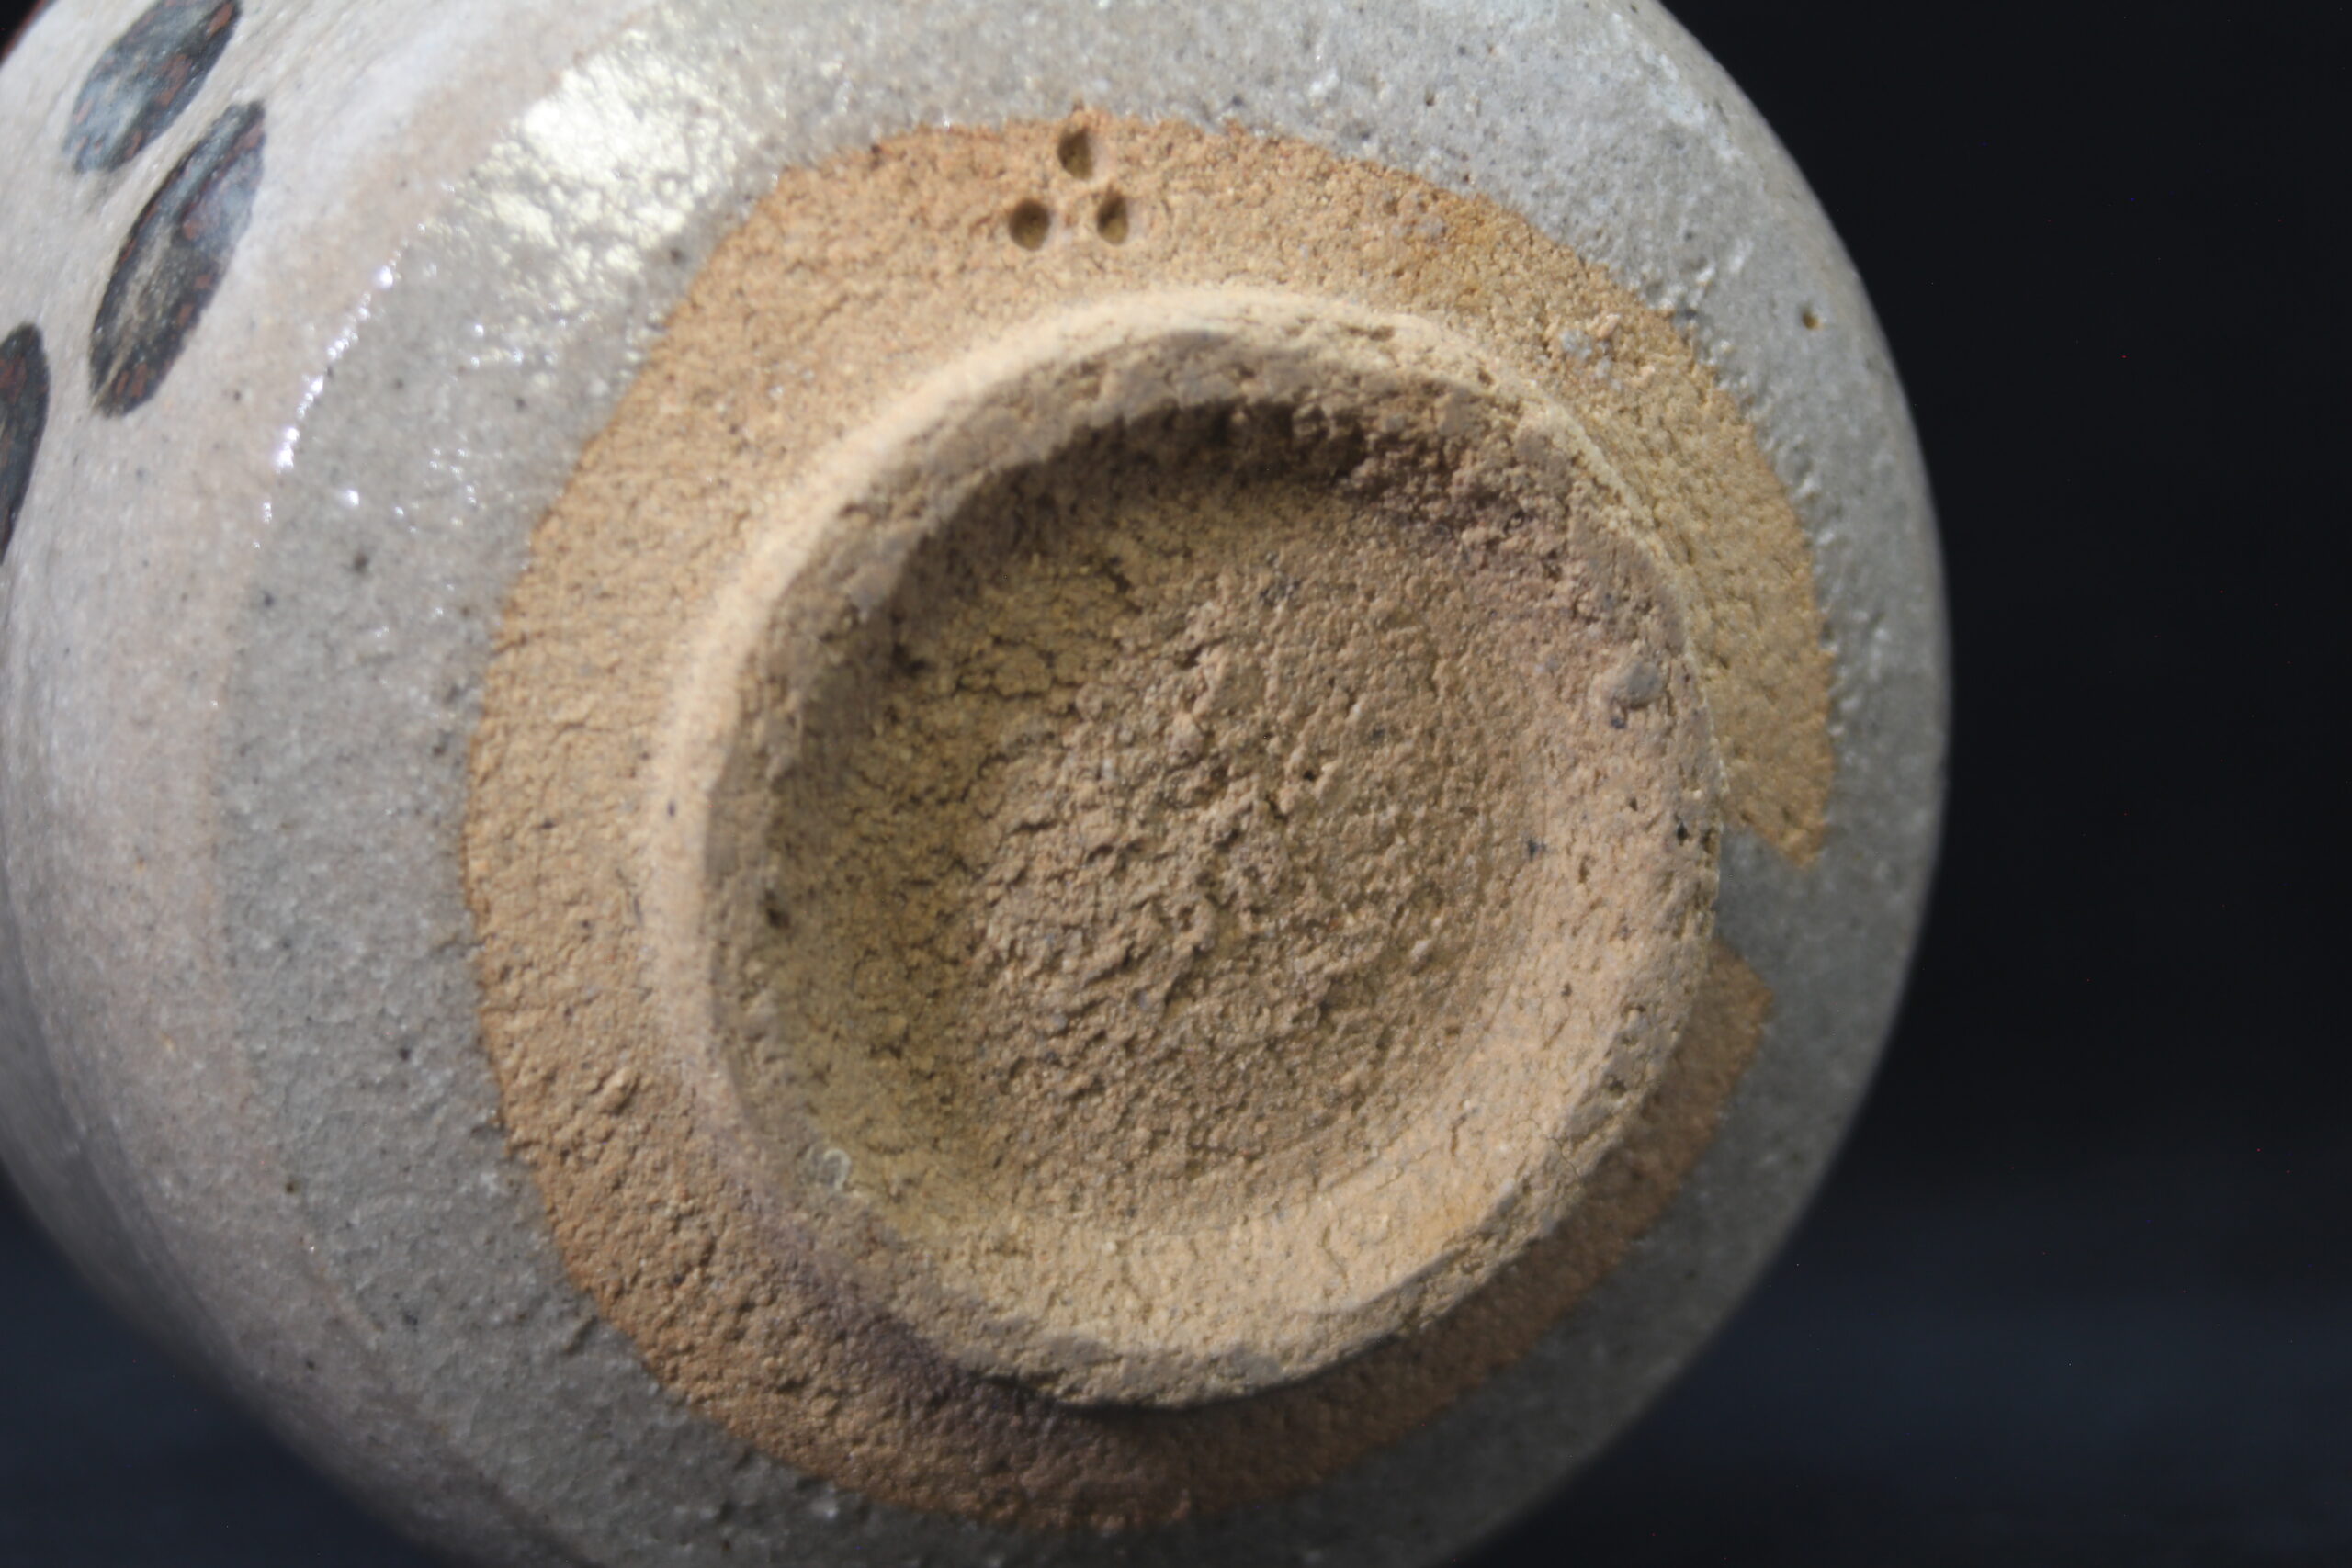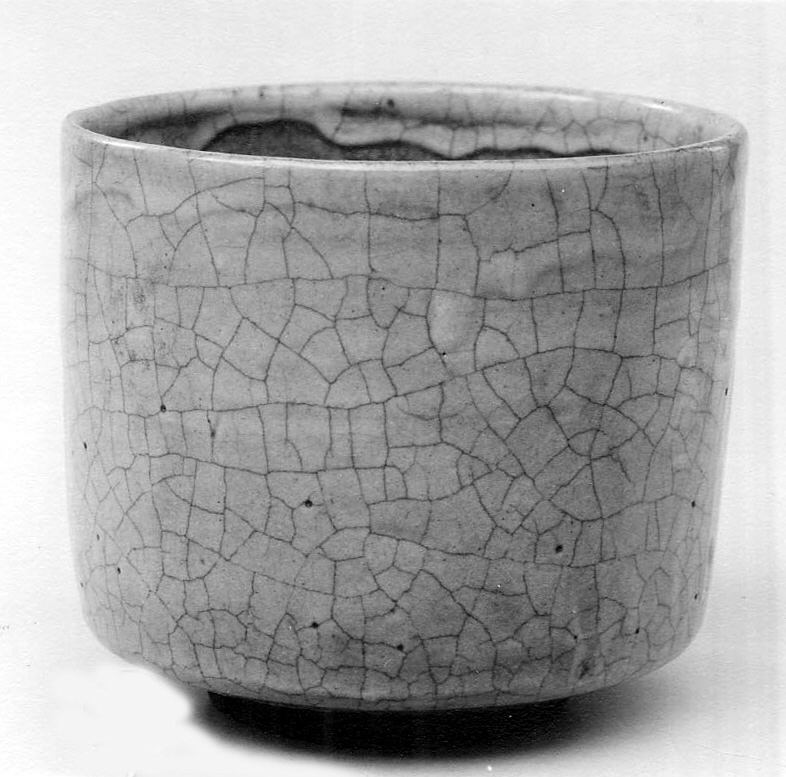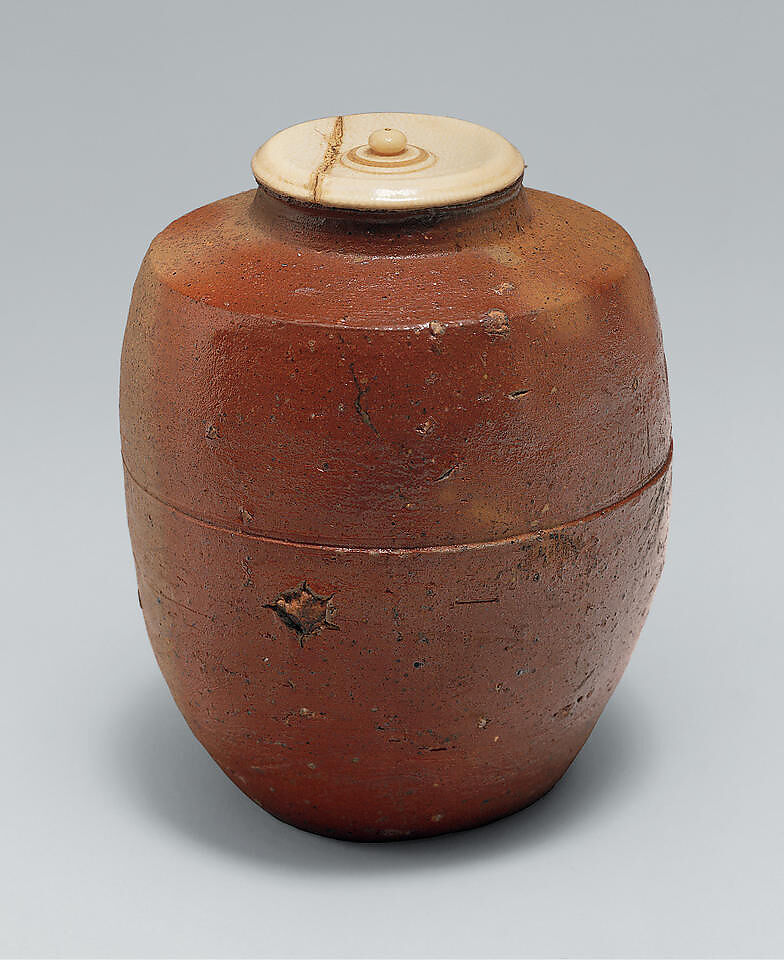
Before a chawan has a shape, a glaze, or a firing history, it has a lump of clay — and everything that happens afterward is, in a real sense, a negotiation with whatever that clay already was. Two potters working the same wheel with different clay bodies will produce different bowls even if they’re trying to make the same shape. This guide covers that earlier, less-visible half of the process: what the clay actually is, how it’s prepared before a potter ever touches it, and the handful of techniques used to turn it into a vessel — knowledge that, once in place, makes throwing marks, trimming lines, and even a bowl’s asymmetry legible as evidence rather than accident.
Two Families of Clay
Japanese ceramics divides, at the most basic level, into two clay families, and the distinction runs through nearly everything covered in this series.
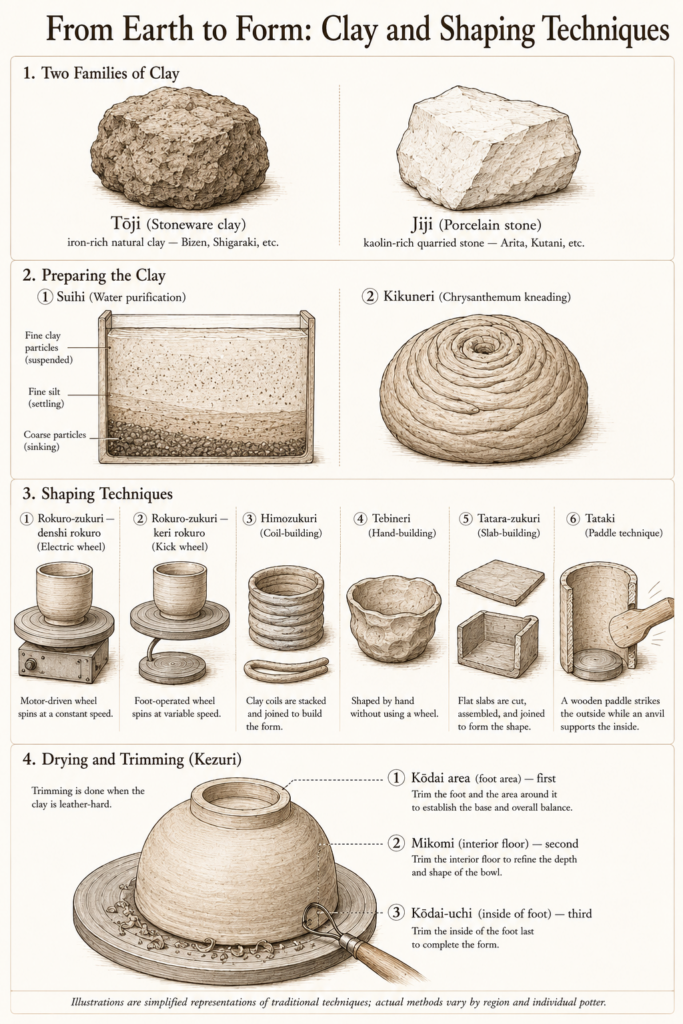
Tōji (陶土), stoneware clay, is a natural, iron-bearing clay dug directly from regional deposits — riverbeds, hillsides, old lakebeds — and used with relatively little processing beyond removing debris. Its iron content is exactly what gives fired stoneware its warm greys, browns, and reddish tones, and it’s forgiving enough to work by hand as well as on a wheel. Bizen, Shigaraki, Tamba, Echizen, Iga, and most Six Ancient Kiln traditions are built on tōji.
Jiji (磁土), porcelain stone, is a different material entirely: a hard, kaolin-rich rock, typically quarried rather than dug, that must be crushed to powder before it can be worked as clay at all. It fires white, translucent at thin edges, and considerably harder than stoneware — which is why Arita’s discovery of usable porcelain stone in the early seventeenth century was treated as a genuine turning point in Japanese ceramic history rather than an incremental improvement. Arita, Kutani, and most of the porcelain traditions covered elsewhere in this guide are built on jiji.
A useful shorthand: if a piece feels warm, slightly rough, and visibly reflects the color of its clay through the glaze, it’s very likely stoneware. If it feels cool, hard, and smooth, with a bright white body, it’s porcelain. This single distinction — before any discussion of glaze or region — already tells you which family of traditions you’re looking at.
Regional clay differences within the stoneware family are covered in more depth in each region’s own guide — Bizen’s fine, iron-rich clay reads very differently from Shigaraki’s coarse, feldspar-flecked body, even though both are tōji.
Preparing the Clay
Raw clay, whether dug from a hillside or crushed from stone, isn’t workable straight out of the ground. Two preparation steps stand between raw material and a lump a potter can actually throw.
Suihi (水簸), water purification. Raw clay is mixed into water until it becomes a loose slurry, then left to settle. Coarse sand, gravel, and plant debris sink or float off quickly; the fine clay particles that matter stay suspended longest, so skimming or draining at the right moment separates usable clay from the material a potter doesn’t want. This technique isn’t native to Japan in its refined form — it’s generally understood to have arrived with Korean potters, reaching Karatsu first and then Mino, where it made possible clay fine enough to support the pale, white-bodied Shino glazes that hadn’t been achievable with earlier, coarser Japanese clay preparation. Not every regional clay needs this level of refinement; coarser traditions like Shigaraki and Iga deliberately leave in some of the texture suihi would remove, since that texture is part of the finished aesthetic.
Kikuneri (菊練り), chrysanthemum kneading. Before clay goes on the wheel, it has to be kneaded to remove trapped air pockets — air left inside will expand during firing and can crack or explode a piece in the kiln. The technique gets its name from the pattern the kneading motion leaves behind: a spiral, layered fold that resembles the overlapping petals of a chrysanthemum. It’s considered one of the more physically demanding basic skills in ceramics, and one every apprentice learns before touching a wheel.
Shaping Techniques
Once the clay is prepared, a potter has several established ways to bring it into form — and the technique chosen is often as recognizable, to a trained eye, as the finished glaze.
Rokuro-zukuri (轆轤造り), wheel-throwing. The most familiar technique: clay centered on a spinning wheel and drawn upward and outward by hand into a symmetrical form. Japan uses two distinct types of wheel. The denshi rokuro (電動轆轤), electric wheel, spins at a controlled, consistent speed. The older keri rokuro (蹴轆轤), kick wheel, is powered by the potter’s own foot, which means its rotation naturally varies slightly from moment to moment — a subtle irregularity some potters and kilns deliberately preserve as evidence of the human hand rather than something to smooth away with a motor.
Himozukuri (紐造り), coil-building. Rather than throwing from a single mass, the potter rolls clay into long coils or ropes and stacks them in rings, smoothing the seams as the form rises. It allows for larger or more irregular forms than a wheel comfortably produces, and remains common for large jars and vessels too big to throw in one piece.
Tebineri (手びねり), hand-building. Formed entirely by hand, without a wheel, by pinching, pulling, and pressing the clay directly into shape. This is typically the first technique taught to any new potter, and it remains the method of choice when a maker wants a form’s asymmetry to read as deliberate and personal rather than mechanically produced.
Tatara-zukuri (タタラ造り), slab-building. Clay is rolled or cut into flat slabs, then assembled — folded, cut, and joined — into rectangular or geometric forms that a wheel can’t easily produce. Common for square dishes, box-form vessels, and pieces with flat sides.
Tataki (叩き), the paddle technique. A wall of clay, often built up from coils, is struck and compressed from the outside with a wooden paddle while a hand or anvil supports it from within — a technique that thins and strengthens the clay wall without needing a wheel at all. Historically introduced to Japan through Korean potters, tataki is closely associated with Karatsu (where potter Nakazato Tarōemon XII specifically revived the technique in the twentieth century after studying old kiln-site shards), as well as with Bizen and Tokoname, where large jars were traditionally built this way before wheel-throwing became dominant.
Drying and Trimming
A freshly formed piece isn’t finished the moment it comes off the wheel. Once it dries to a firm, leather-like consistency — soft enough to carve, firm enough to hold its shape — it goes through kezuri (削り), trimming, the stage where the kōdai (foot) covered in the previous guide in this series is actually carved into existence. Most vessels formed on a wheel are thrown with excess clay left at the base specifically so there’s material to remove at this stage.
Trimming typically follows a specific order: the kōdai and the surrounding foot area first, since this establishes the vessel’s overall base proportions; the mikomi (interior floor) next, thinned and finished according to how the exterior has come together; and the kōdai-uchi (interior of the foot) last of all, once the maker has a full sense of the piece’s overall character. It’s at this final stage that a feature like the tokin (兜巾) — the small spiral nub inside the foot discussed in the previous guide — gets carved in or deliberately left out, depending on how restrained or expressive the rest of the piece has turned out to be.
Why This Matters for Collecting
Throwing and trimming both leave physical evidence that a trained eye learns to read. Rokuro-me (轆轤目), spiral ridges left by the throwing process, tell you a piece was wheel-formed and can hint at the rhythm and speed of the wheel used. Trimming marks around the kōdai — clean and even, or visibly loose and energetic — are often more revealing of a maker’s individual hand than the glaze or overall shape, since trimming is usually the last moment a piece is directly touched before drying and firing. A kōdai that looks casually or roughly finished isn’t necessarily evidence of lower skill; in traditions that value visible spontaneity over polish, restraint at the trimming stage is often the deliberate goal, not an oversight.
The next guide in this series moves from the potter’s hand to the kiln itself — the glazes, natural ash effects, and firing methods that determine what a piece actually looks like once it comes out the other side of several days of fire.
Read our guide to Glaze and Fire in Japanese Ceramics →
About HOJO Japanese Ceramics
HOJO Japanese Ceramics is based in Tobe Town, Ehime Prefecture, one of Japan’s historic pottery regions.
We research, curate, and share authentic Japanese ceramics with collectors around the world.
Explore our curated collection in the HOJO Etsy Shop.